

Iris paper folding gives me the same feel as quilt patters, but they are much easier to complete. I chose Pineapple Blossom pattern to make this card. Here is how I did this.

Products used: EP Springtime paper, Carta Bella Alphabet Junction paper, tape, miscellaneous yellow ribbon, miscellaneous Turquoise flower.
You can find many different patterns for Iris Paper Folding by simply googling it on the internet. Once you have chose your pattern you then use a craft knife and the pattern and cut out an aperture in the colored cardstock (this is the outline of the pattern). This will make the frame for the project. If you want to cut a fancy border, now is the time to do that too. ( I chose not to cut fancy borders.)

You then position the card with the aperture cutout over the pattern, face down. You will be working on the back side of the card.
Tape the card to the template using non-permanent tape (Masking tape works well for this. If the tape is too sticky, stick it to a cotton cloth first to reduce its stickiness)
Choose several different patterns of coordinated paper. Cut in strips (your pattern will give the width of the strips). Fold the strips in half on the long edge.
Arrange your folded strips of paper in the order that you want to apply them to the card. (patterns are usually numbered so that you know the order to arrange the folded strips of paper.)
Start with #1 on the template:
Cut a strip of paper so that it is a little longer than the aperture opening.
Line up the folded side of the strip of paper with the inside edge of the area labeled with a "1"
Tape both ends of the strip of paper to the back of the card
Using the next color, follow the same instructions for #2. Repeat all the way around the aperture, following the numbers and working inward as you complete each round. Stop when you have the desired size for the aperture opening.
The back of the card will look quite messy as you progress, but when you flip the card over it reveals a beautiful quilt-like pattern.

To finish the center attach a piece of holographic paper (or other paper of your choice), a small picture, a decorative button, etc. You can now mount your finished work using glue or double-sided tape. 3D Foam pads works well if you used a heavier weight paper for your design and you find that it is too thick to mount directly onto the card.

Hope you enjoy this tutorial.
CARD 2

Grandma’s Quilt – repeated patterns come to mind and certain amount of home felt comfort. For this card I used:
CC Products: Carta Bella Beautiful Moments. FP It’s the Little Things Trim.
Other Products used Spellbinders Hexagons, Cuttlebug Hexagon embossing plate

I used a plain white sheet of paper and embossed hexagons. Then trimmed the embossed image to cover approximately 2/3rd of the front of the card. I then trimmed the top of the white paper around the hexagon image. I used Spellbinders dies and cut random hexagons from Beautiful Moments paper. I adhered these randomly on the embossed hexagons. Glue hexagon portion to gold polka dot patterned paper (also Beautiful Moments) and then glued that to red Beautiful Moments patterned paper. Used lace trim from It’s the Little Things to pull the card together and then stamped my birthday sentiment. The lace with the repeating patterns feels likes Grandma’s quilt.
For the envelope, I glued some random hexagons to the envelope.

CARD 3

Again with the repeating patterns. I had to really think hard about how to incorporate washi tape into Grandma’s Quilt. After some research I found washi tape used on die cuts. I am just so excited about using washi tape. I love it on everything.
CC Products used: EP A Boy’s life paper, EP All About A Boy washi tape.
Non CC Products Spellbinders Hexagons, SU Not Quite Navy Stamp Pad.

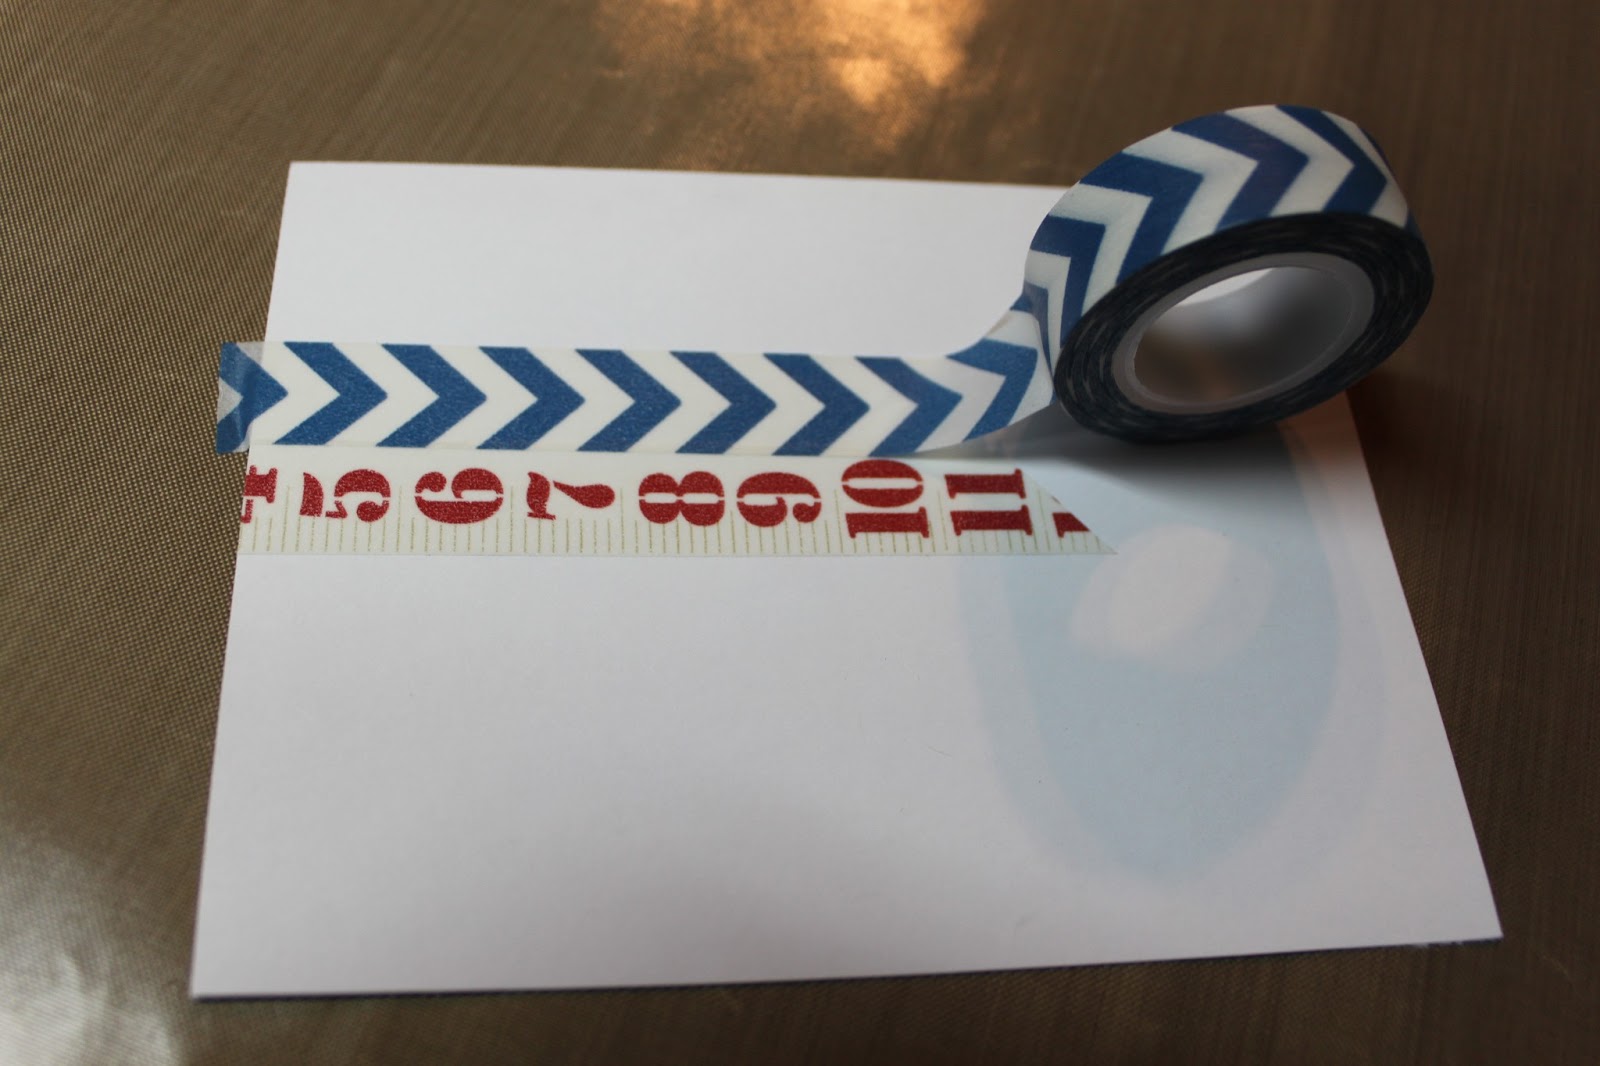
To begin this card cut your card front and then apply Washi tape across the front of the card.
Then cut out your Hexagon Die cuts, Place the die cuts on the cards as you want them to placed later on and apply your washi tape so that it lines up with the washi tape on the card. Then trim excess washi tape from hexagons
.

After trimming the excess washi tape, use stamp pad and ink edges of hexagons so they will pop on the card. Use Pop Dots to adhere Hexagons. Stamp sentiment.

Hope you enjoyed this.